Build, deploy, and manage internal AI tools that drive team productivity. Unify your AI landscape with oversight and governance for enterprise scale. Increase speed, accuracy, compliance, and satisfaction.


Fetch trusted, relevant information from your knowledge base, shared drive, or other internal resource.
Answer questions more reliably and with greater ease.
Wow every customer!

Push urgent updates to the browser so critical information doesn’t get lost in noisy chat tools or inboxes.
Ensure information is read and acknowledged.
Never miss a beat!

Your AI writing assistant to ensure clear, on brand, and error-free communication.
Avoid repetitive typing with pre-canned snippets.
Write like a pro!

Trigger warnings and guidance to ensure rules and procedures are followed.
Create an audit trail for any process.
Eliminate expensive mistakes!


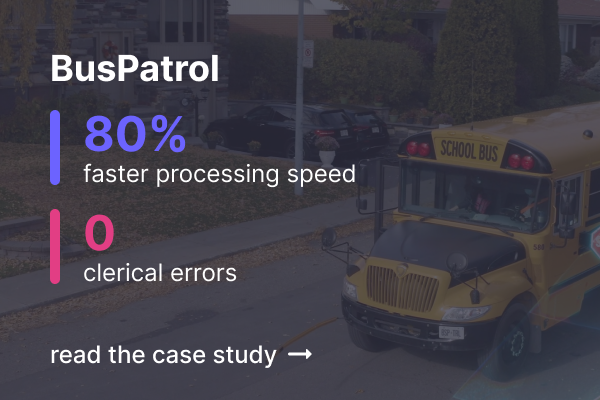
With PixieBrix, BusPatrol leverages automation to power its AI and quality control team to process a high volume of violations at industry-leading speed and accuracy.


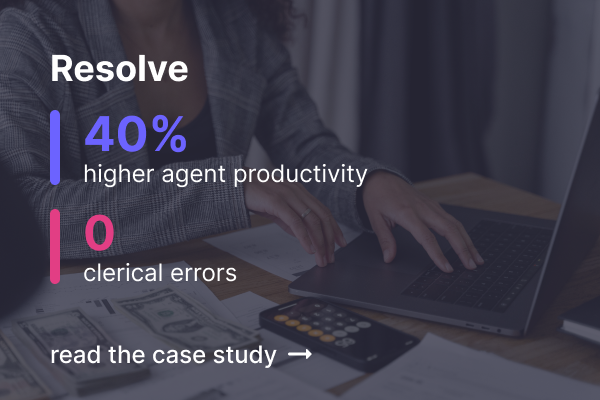
Resolve Medical Bills deploys PixieBrix to increase the speed and accuracy of collecting mission critical data.


To set the pace in CX, TaskUs partnered with PixieBrix toprocess and resolve transactions and inquiries faster, with higher accuracy, and with greater transparency.


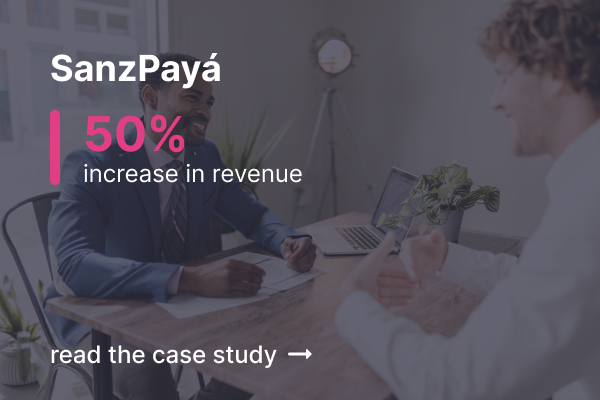
SanzPayá leverages PixieBrix to accelerate their customer-centric team, which is focused on establishing a long-term relationship with our stakeholders.


SOC 2 accreditation for security, availability, and confidentiality. Continuous compliance monitoring via Drata. Regular CWS reviews.

Data processed on-device. Source-available code for transparency (dual-licensed). Web application firewall, and continuous app security monitoring.

Data encryption in transit with HTTPS and at rest via AES-256, block-level. Keys securely managed by Heroku and Cloudflare.

Secure access via SAML/SSO authentication. Role and group-based access control. Integrates with 3rd-party apps via OAuth2.

We employ vulnerability scanning, penetration testing, static analysis, and continuous supply chain monitoring.

To ensure availability, we enable availability zone switching, continuous data backup, 24/7 on-call platform team, and DDoS protection.


Lorem ipsum dolor sit amet, consectetur adipiscing elit.

Dipendra Shekhawat
Principal Architect - RPA
GSK

Brian Thomas
Manager Product Management
Capital One


Céline Carcy
Head of Financial Governance
Foundever

Karoon Monfared
CEO
BusPatrol

Levi Barbosa
Talent Operations
Nubank
Mike Day
Business Systems Specialist
Dreamsuite
Ashley Pruitt
Sr. Engagement Manager - RPA
Delta Airlines
Marian Platonov
Senior Product Support Engineer
UiPath
Mehul Agrawal
RPA Developer
Technoprism
Zachary Cardone
Sr. Sales Engineer
Automation Anywhere
Harsh Makadia
Founder & Automation Developer
Fuselio
Danny Kuivenhoven
Global Head of Generative AI
Teleperformance
Manish Pandya
SVP Digital
TaskUs
Lina Clark
Founder
LC Clark Project Management Consulting
Simon Frank
Developer
WTW
ChanduMohammad S
Software Engineer
LTIMindtree
Yousef Ashraf
Software Engineer
Teleperformance
Micah Smith
Developer Evangelist
Automation Anywhere
Jacqueline Green
Developer
BusPatrol
Dipendra Shekhawat
Principal Architect - RPA
GSK
Brian Thomas
Manager Product Management
Capital One
Céline Carcy
Head of Financial Governance
Foundever
Karoon Monfared
CEO
BusPatrol
Levi Barbosa
Talent Operations
Nubank
Mike Day
Business Systems Specialist
Dreamsuite
Ashley Pruitt
Sr. Engagement Manager - RPA
Delta Airlines
Marian Platonov
Senior Product Support Engineer
UiPath
Mehul Agrawal
RPA Developer
Technoprism
Zachary Cardone
Sr. Sales Engineer
Automation Anywhere
Harsh Makadia
Founder & Automation Developer
Fuselio
Danny Kuivenhoven
Global Head of Generative AI
Teleperformance
Manish Pandya
SVP Digital
TaskUs
Lina Clark
Founder
LC Clark Project Management Consulting
Simon Frank
Developer
WTW
ChanduMohammad S
Software Engineer
LTIMindtree
Yousef Ashraf
Software Engineer
Teleperformance
Micah Smith
Developer Evangelist
Automation Anywhere
Jacqueline Green
Developer
BusPatrol